Building a Mobile LEGO Wall: Repurposing for Playful Learning
This project has been a year in the making...Ever since the MarGilly duo returned to public school, we have been looking for ways to incorporate more Playful Learning. LEGO is one of our favorite tools, so naturally, a mobile LEGO Wall was on the brainstorming board. However, a permanent installation in a single classroom wouldn't be ideal as special education teachers working in a public school.
This is Jen’s third LEGO Wall, and quite possibly the last. Our previous build can be found written up in this blog post: Classroom LEGO Wall for Playful Learning. We've learned a lot from our past experiences, and we are excited to share how we have adapted the concept for this mobile version.
Inspiration struck thanks to Maggie mentioning that we should consider using a whiteboard on wheels, and a post from Brooke Brown (@teachoutsidethebox) on Instagram. Brooke's custom rolling furniture with a built-in LEGO Wall sparked an idea: a mobile LEGO Wall with a cabinet base for storage and floor play!
Designing and Sourcing Materials
The idea of combining a mobile LEGO Wall with the practicality of using a cabinet to keep pieces at the bottom and allow kids to sit on the floor to use it seemed like the ideal fit for our shared classroom space. With this in mind, Jen used Tinkercad to mock up a design of what she thought we could create, if we built something from scratch. We also wanted a visual to use if shopping for materials or trying to explain the project to others. We were curious how much materials would cost, so the mock up was helpful to get overall dimensions in order as well. Initially, we were looking to do something that would span approximately 30 inches (3 baseplates) wide, be 24-ish inches tall (just over 2 baseplates), and about 6 inches deep to fit the limited classroom space available. Wheels were a must to make everything mobile. While initially considering building from scratch ($60-$100), repurposing furniture seemed like a budget-friendly option.
Repurposing Magic at the Evanston Rebuilding Warehouse
After mocking things up, we figured we would look around for any pieces of furniture that could be repurposed as well. We thought we could save costs by finding a piece of furniture with similar dimensions. Maggie had some options to consider, but ultimately the shelf unit was too tall and heavy to be practical. One issue we had was that many shelving units/cabinets do not necessarily have real wood for the back panel, and this was an important “must have” given that the baseplates would be adhered to that back panel.
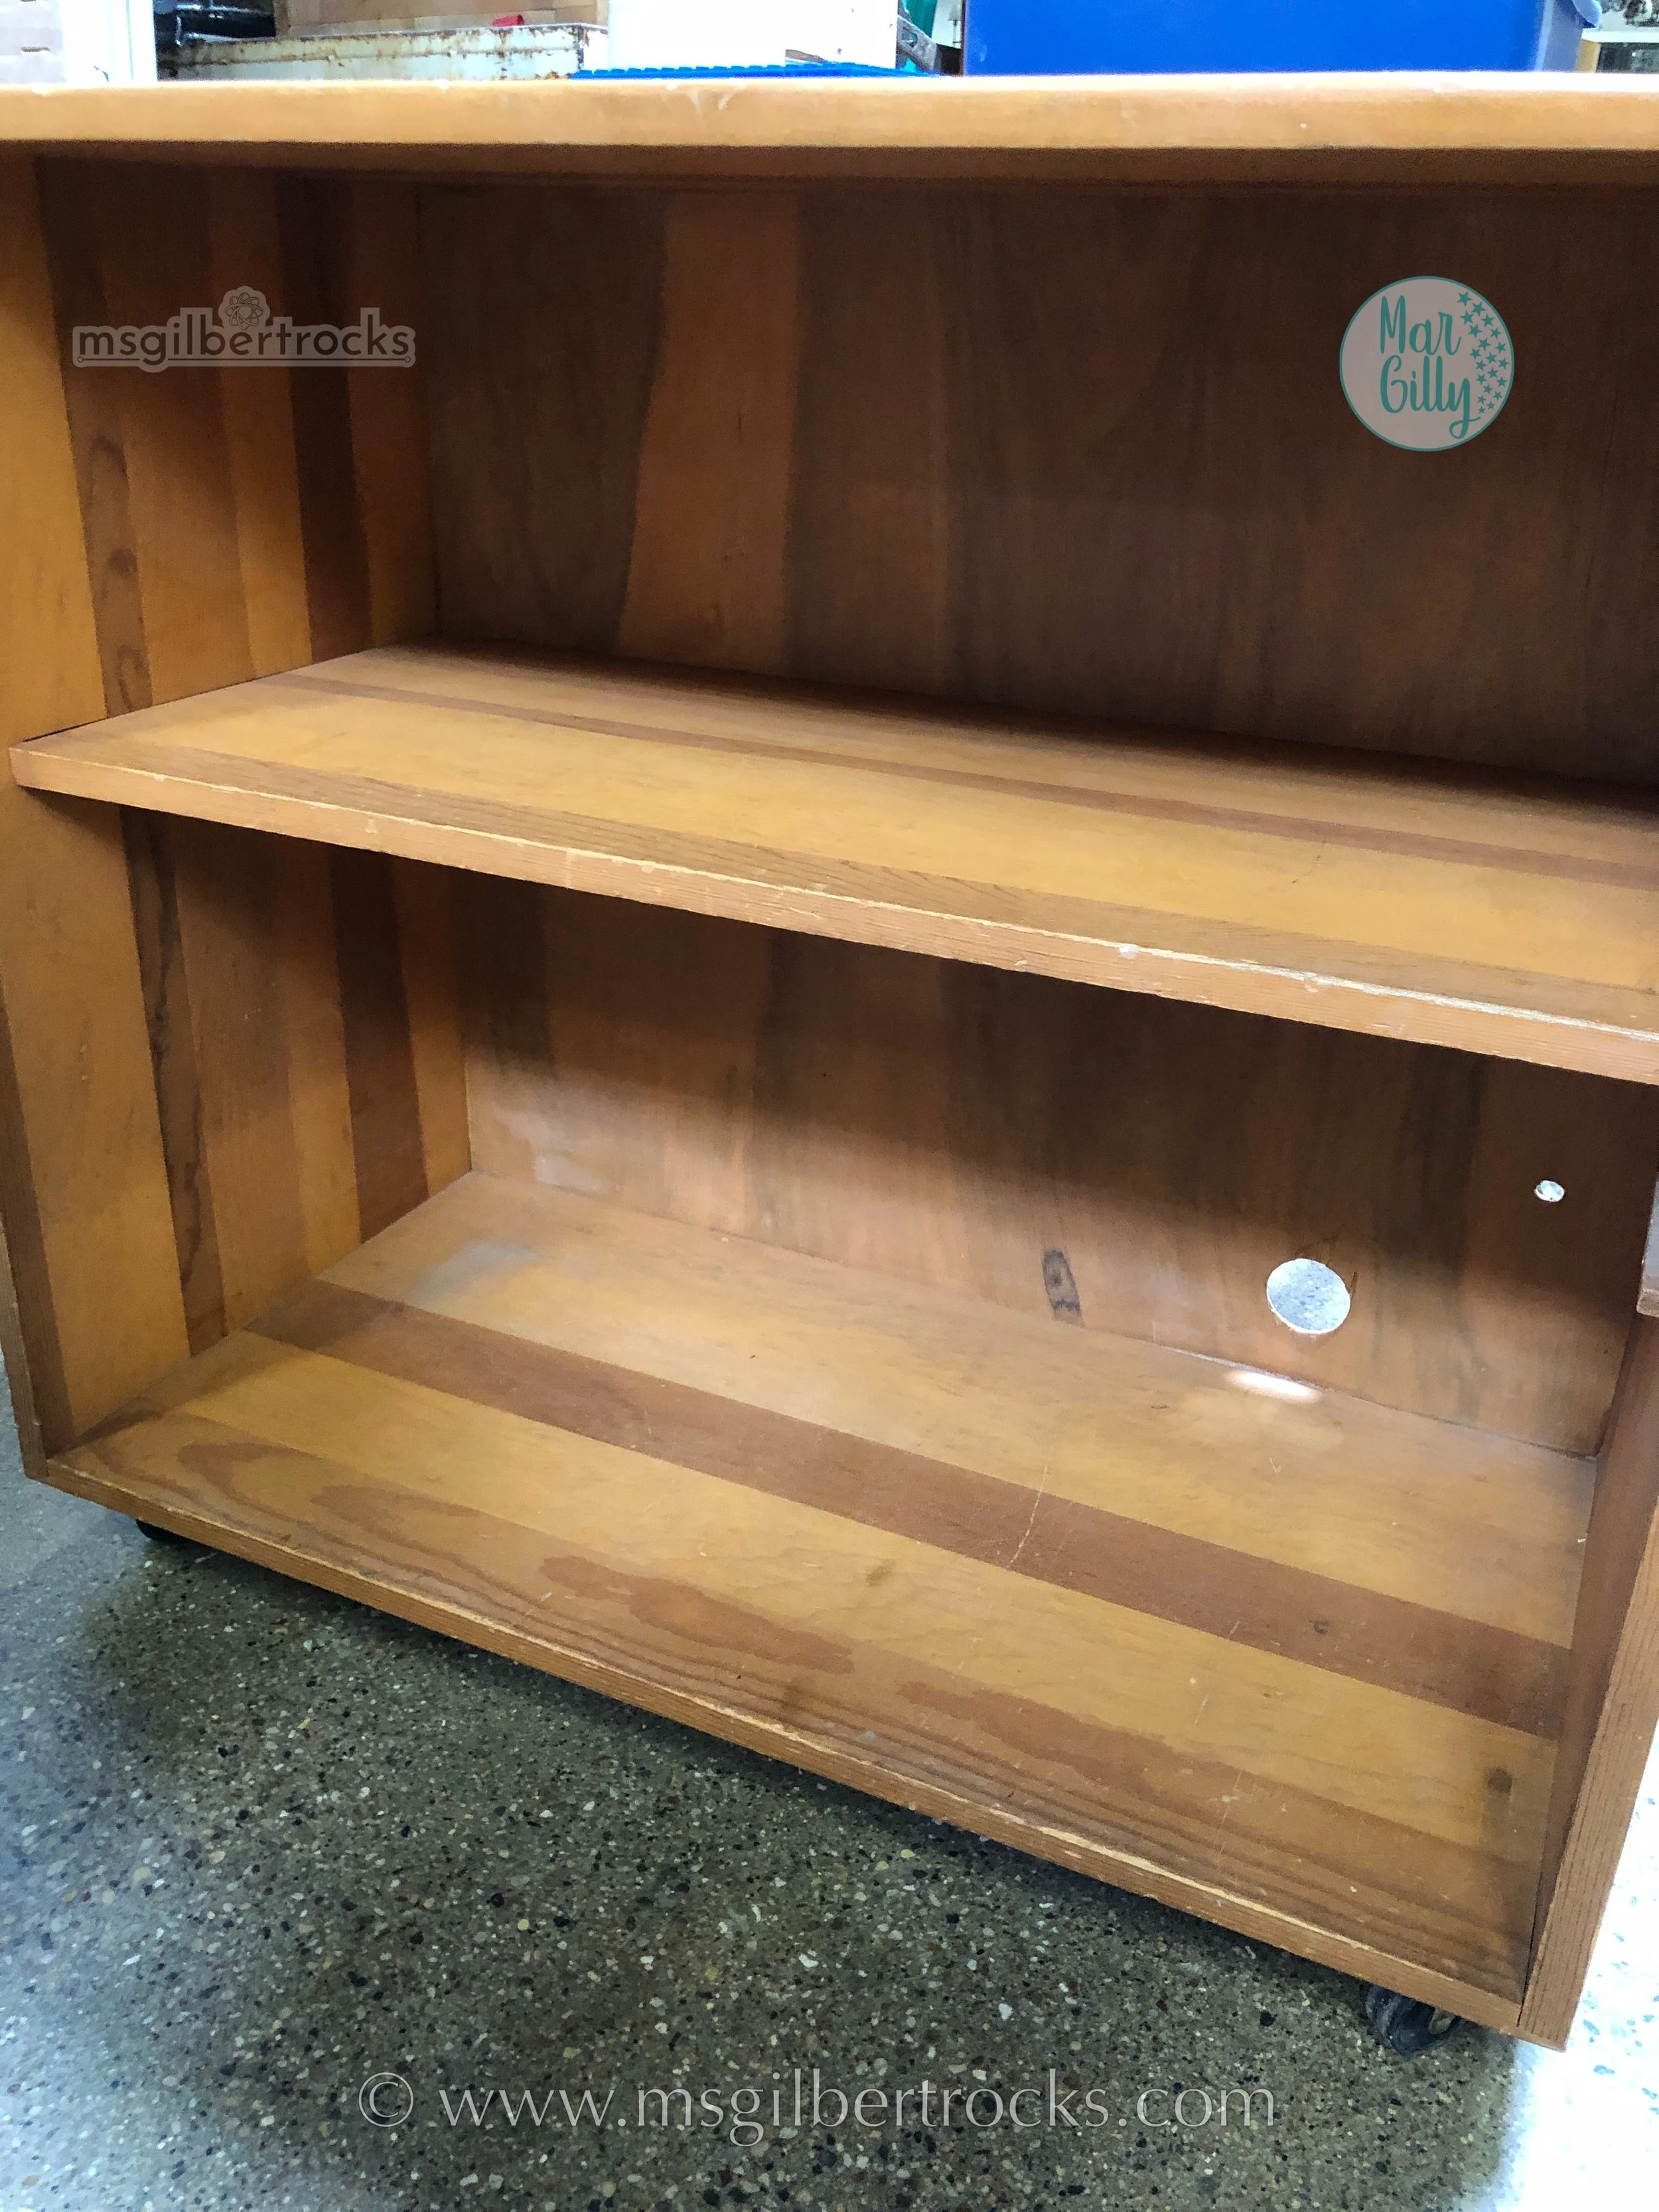
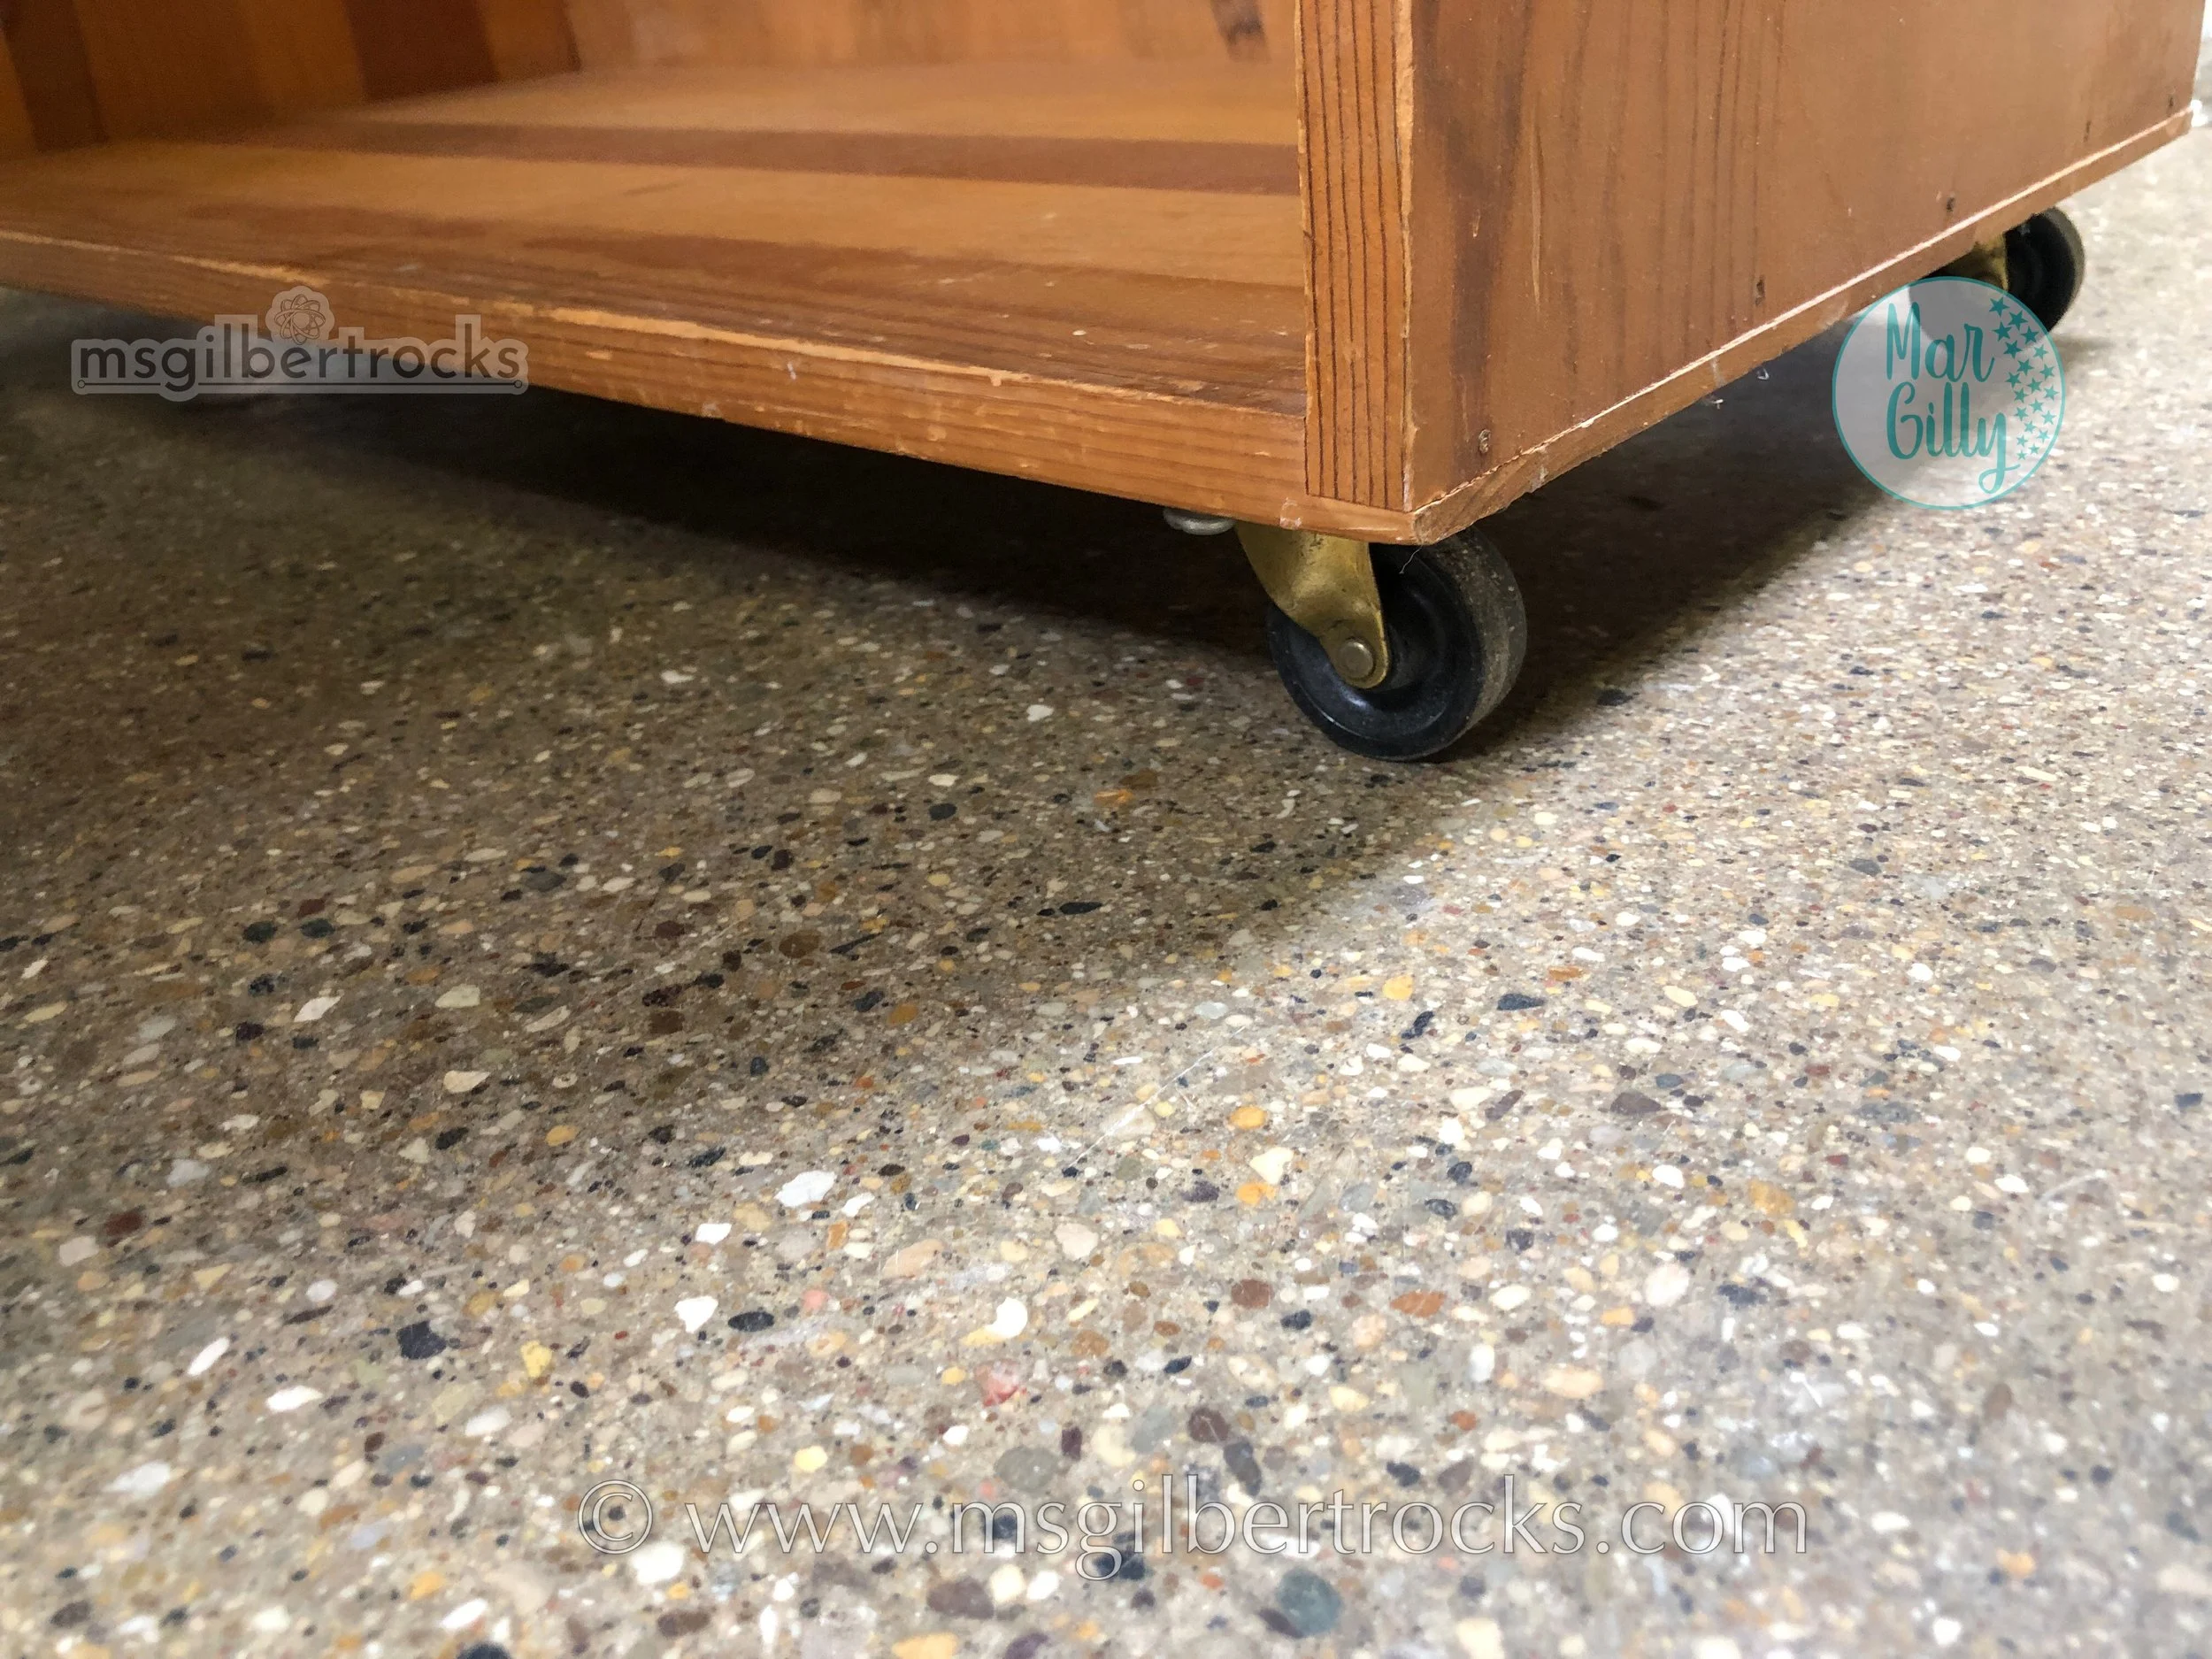
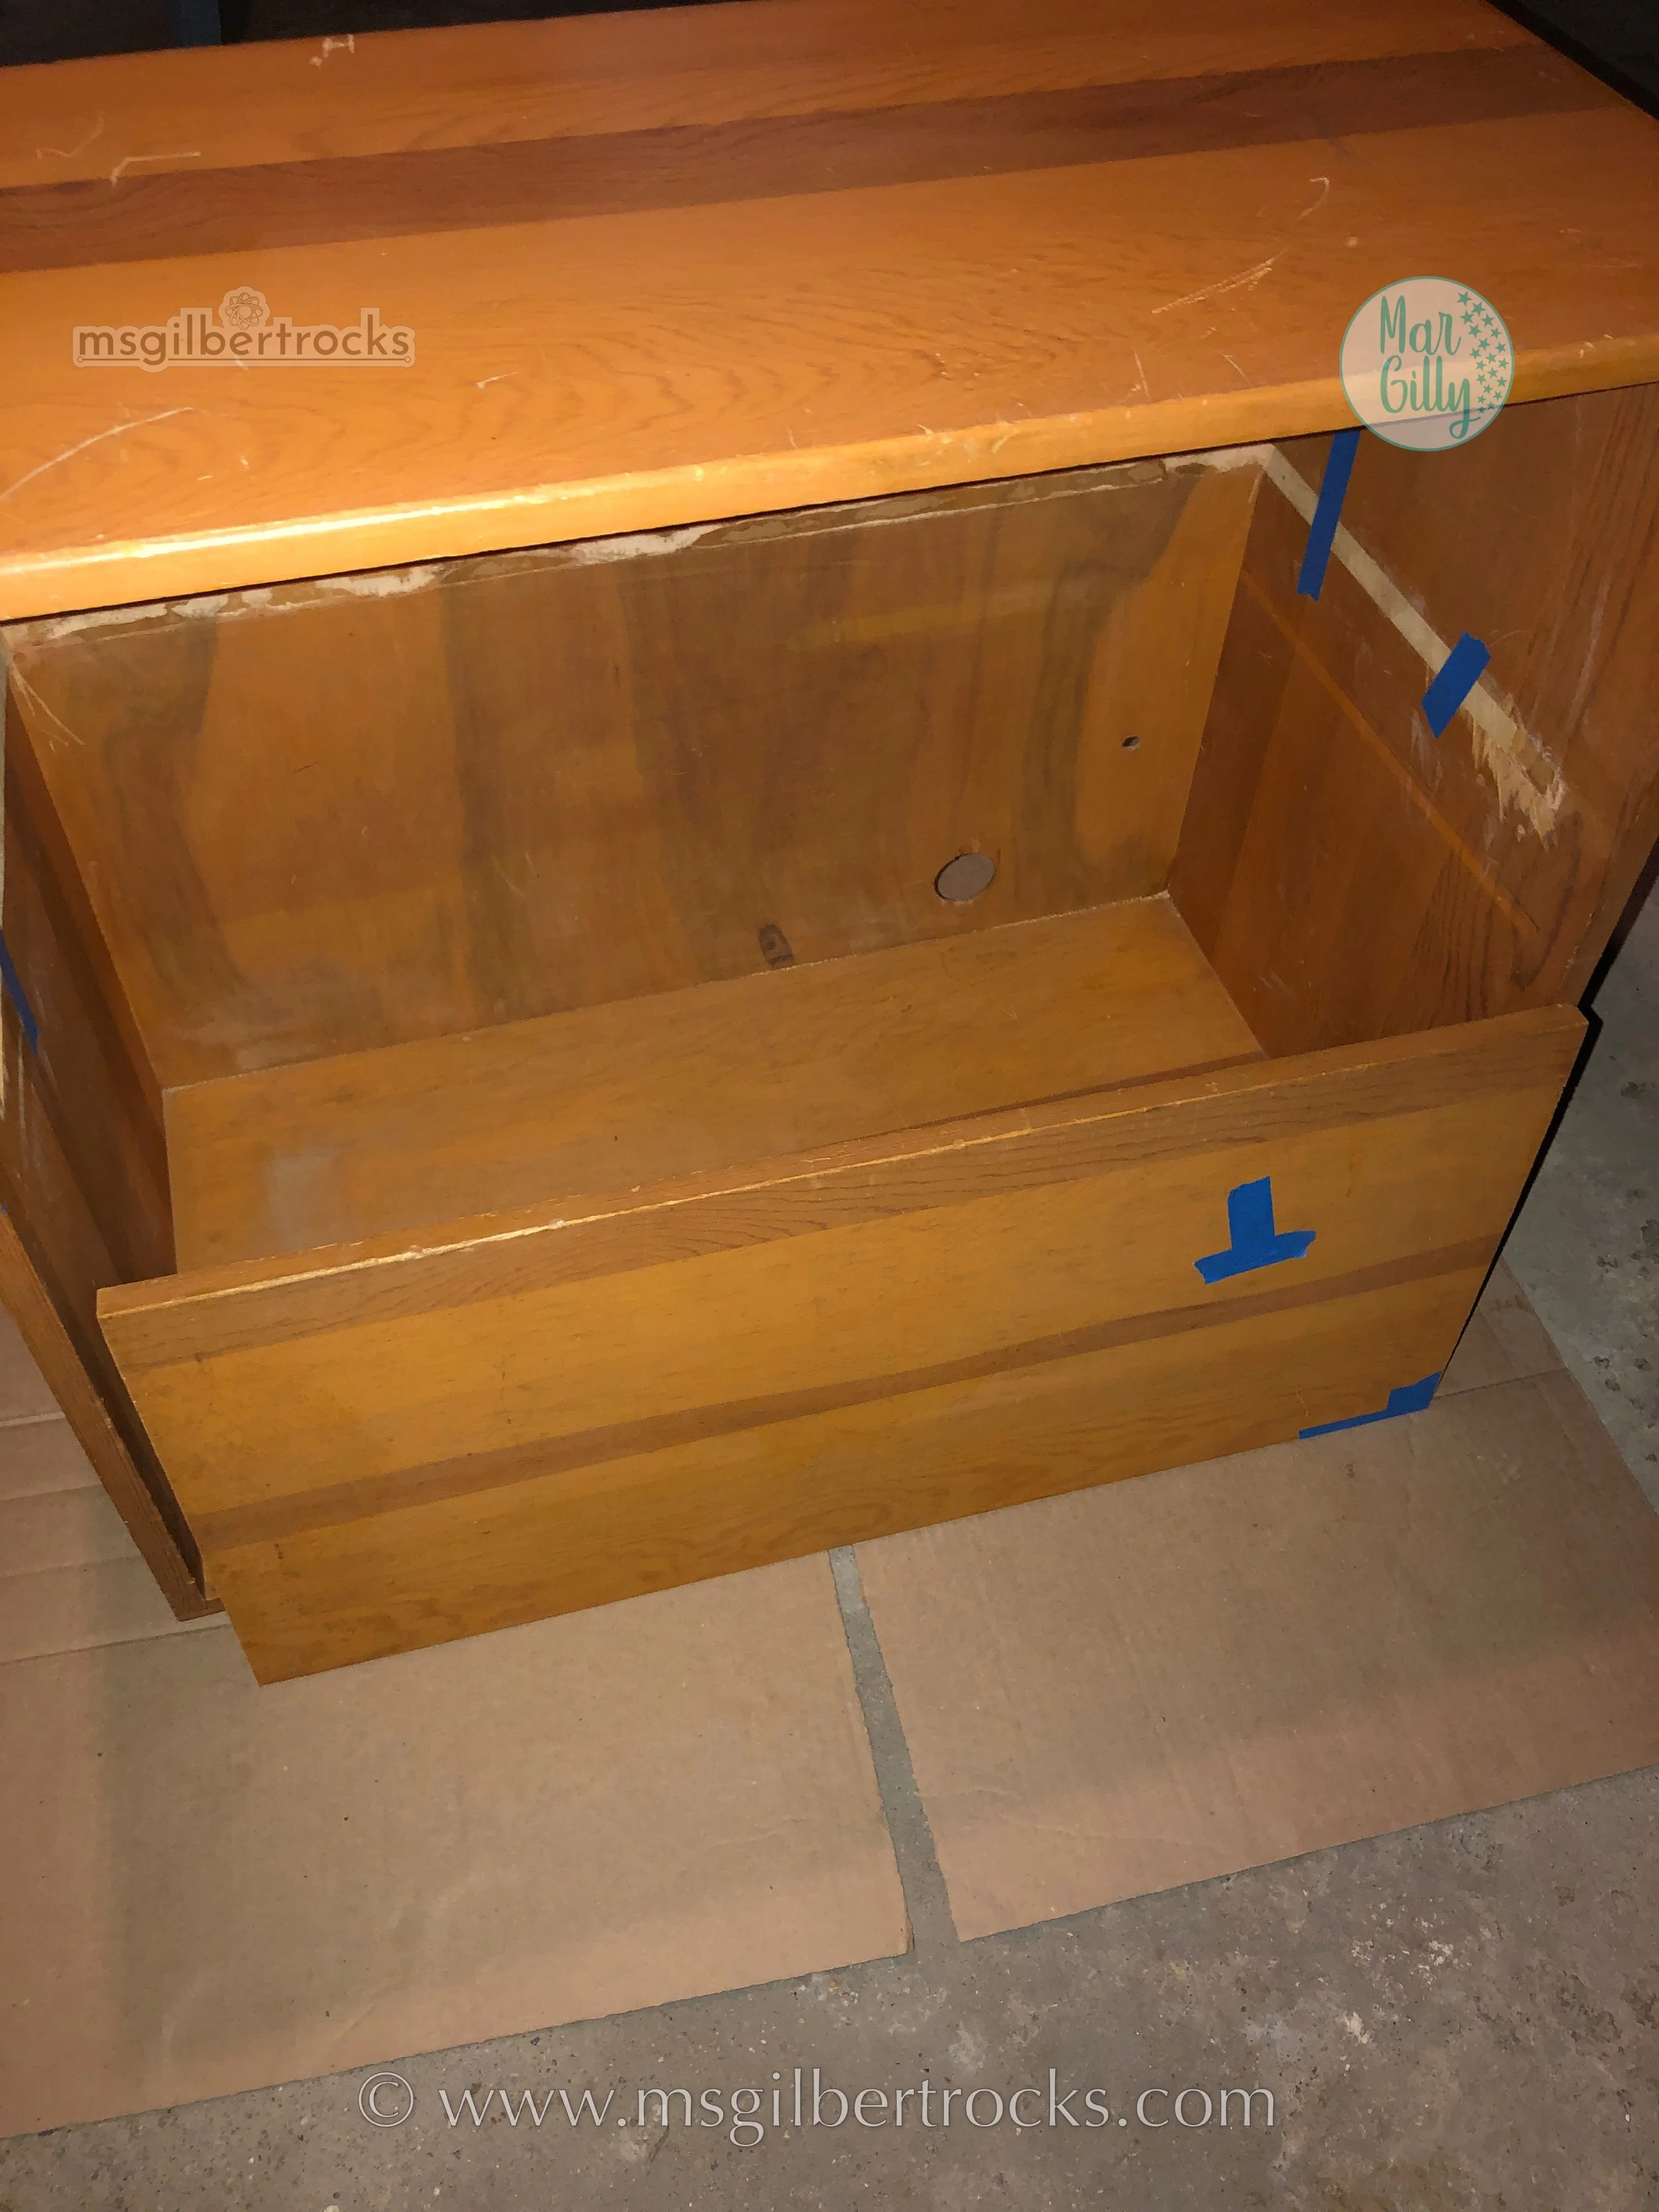
Maggie suggested checking out the Evanston Rebuilding Warehouse to find something more suitable. We figured we could find something reasonably priced and add wheels to make it work for this project. Little did we know that a trip to their store would yield a perfect match on almost every level for this project. Imagine our surprise when Jen walked down a row and saw a little cabinet with a real wood (albeit relatively thin plywood) back…and upon kneeling down to measure it discovered it already had little wheels on it! Jen’s jaw literally dropped when this happened! The size was not too far off for width and height, but the depth was around 15 inches. We thought it would still work out and held our breath when rolling it up to check the price (there was no tag). Another stroke of good fortune for us - while there is no teacher discount, this piece was only $10! Yeah, we still can’t believe our luck with this unique little piece. Solid wood, including the back, and only a single shelf to remove to create a fully open cabinet. Jen hoped the shelf could be also be repurposed into the front lip at the bottom to contain the LEGO pieces on the bottom of the cabinet. We did finish walking around the store, but no other piece came close to this little cabinet in form or price, so we happily purchased it ($11.04 with tax) and loaded it easily into the car (it is fairly lightweight!).
Prepping the Cabinet
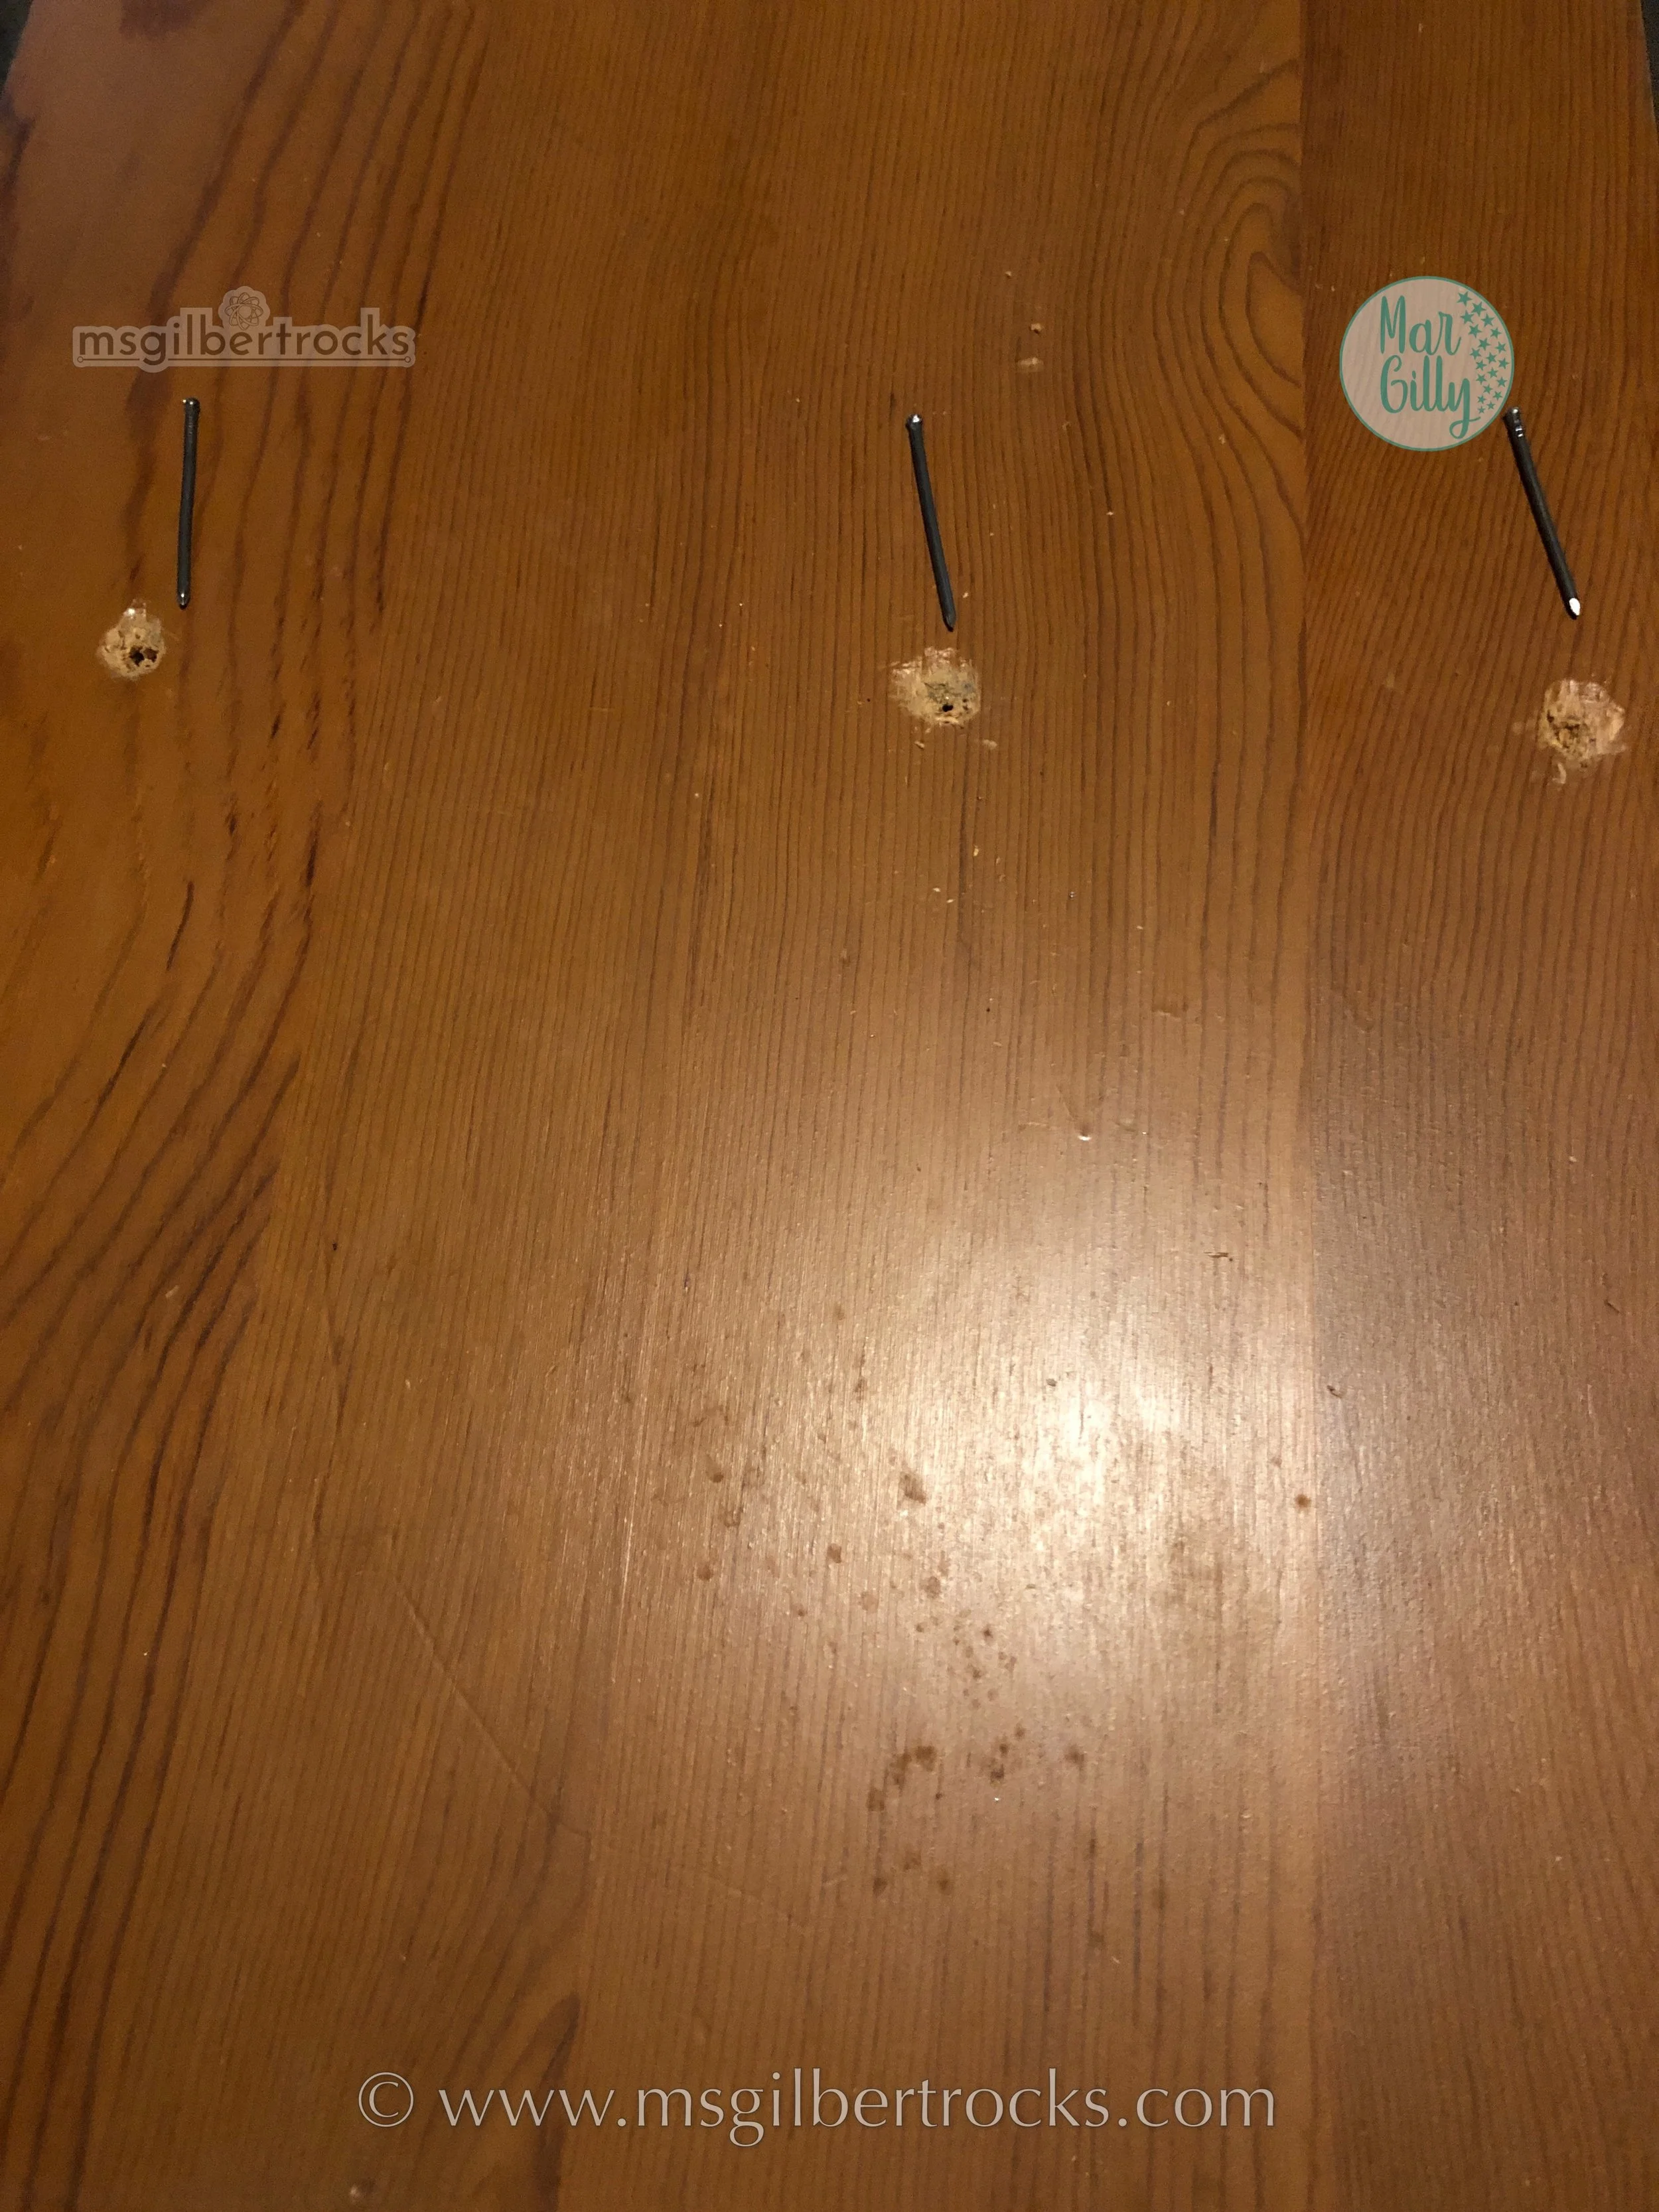
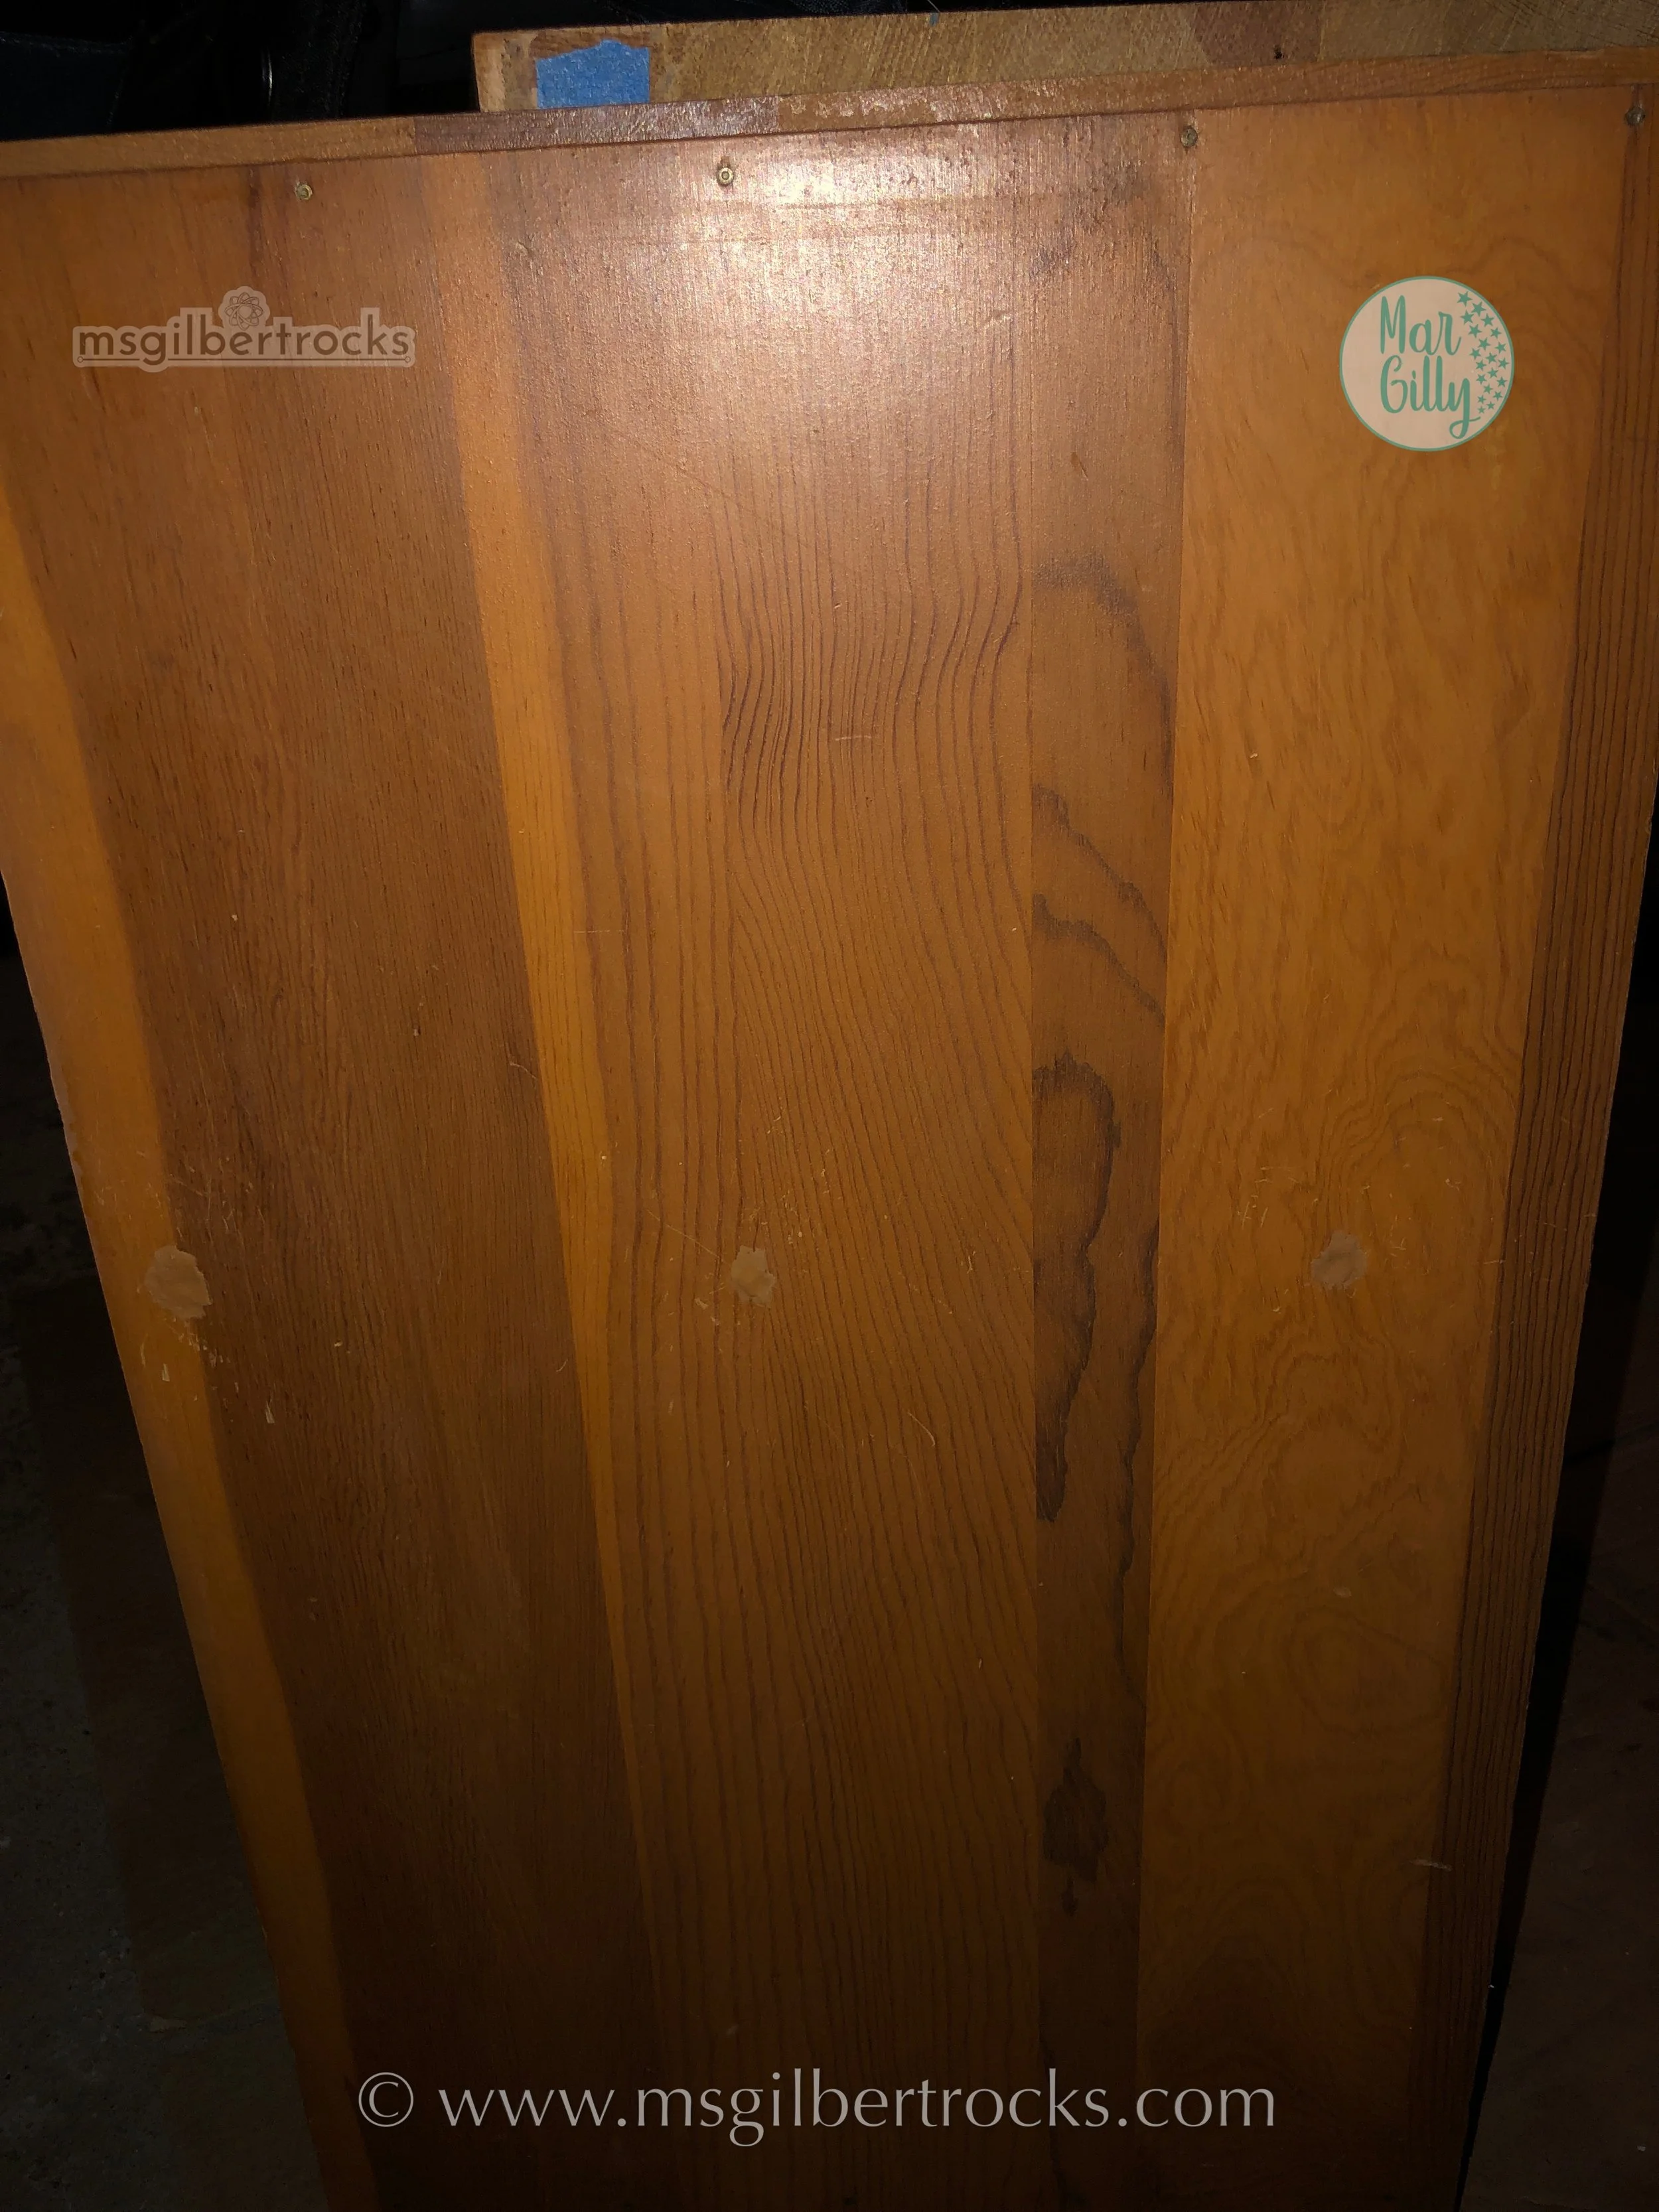
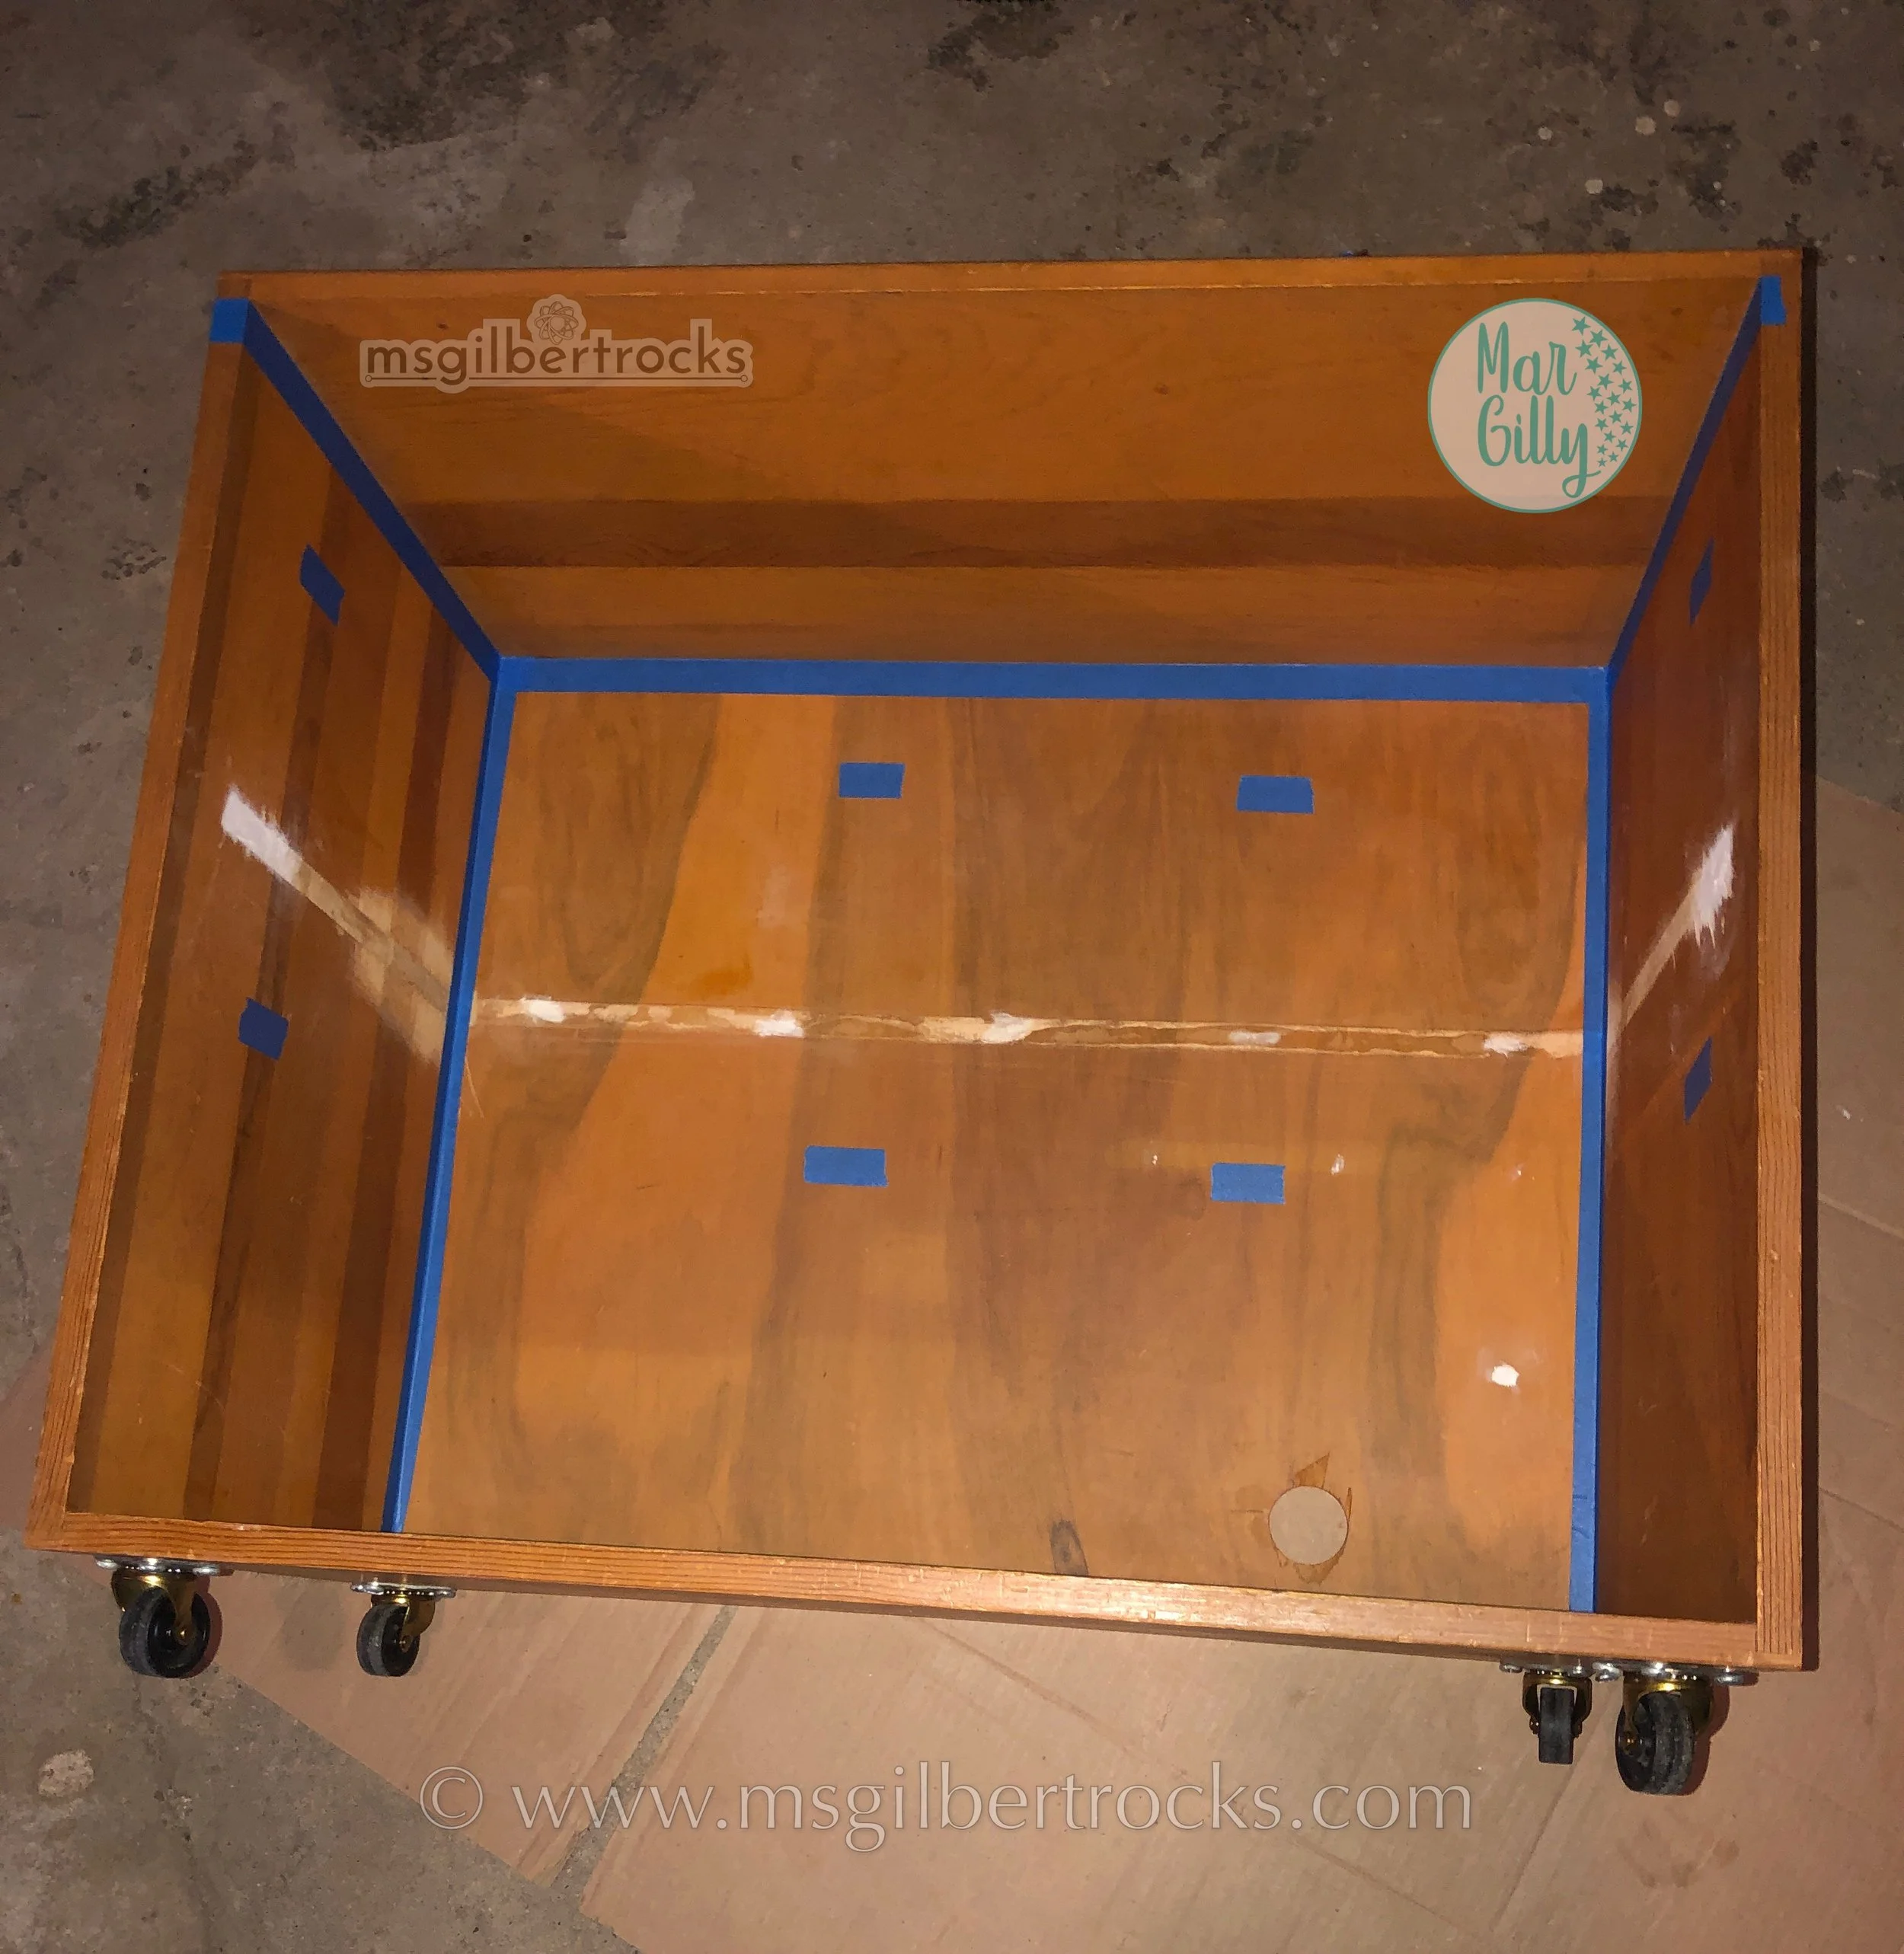
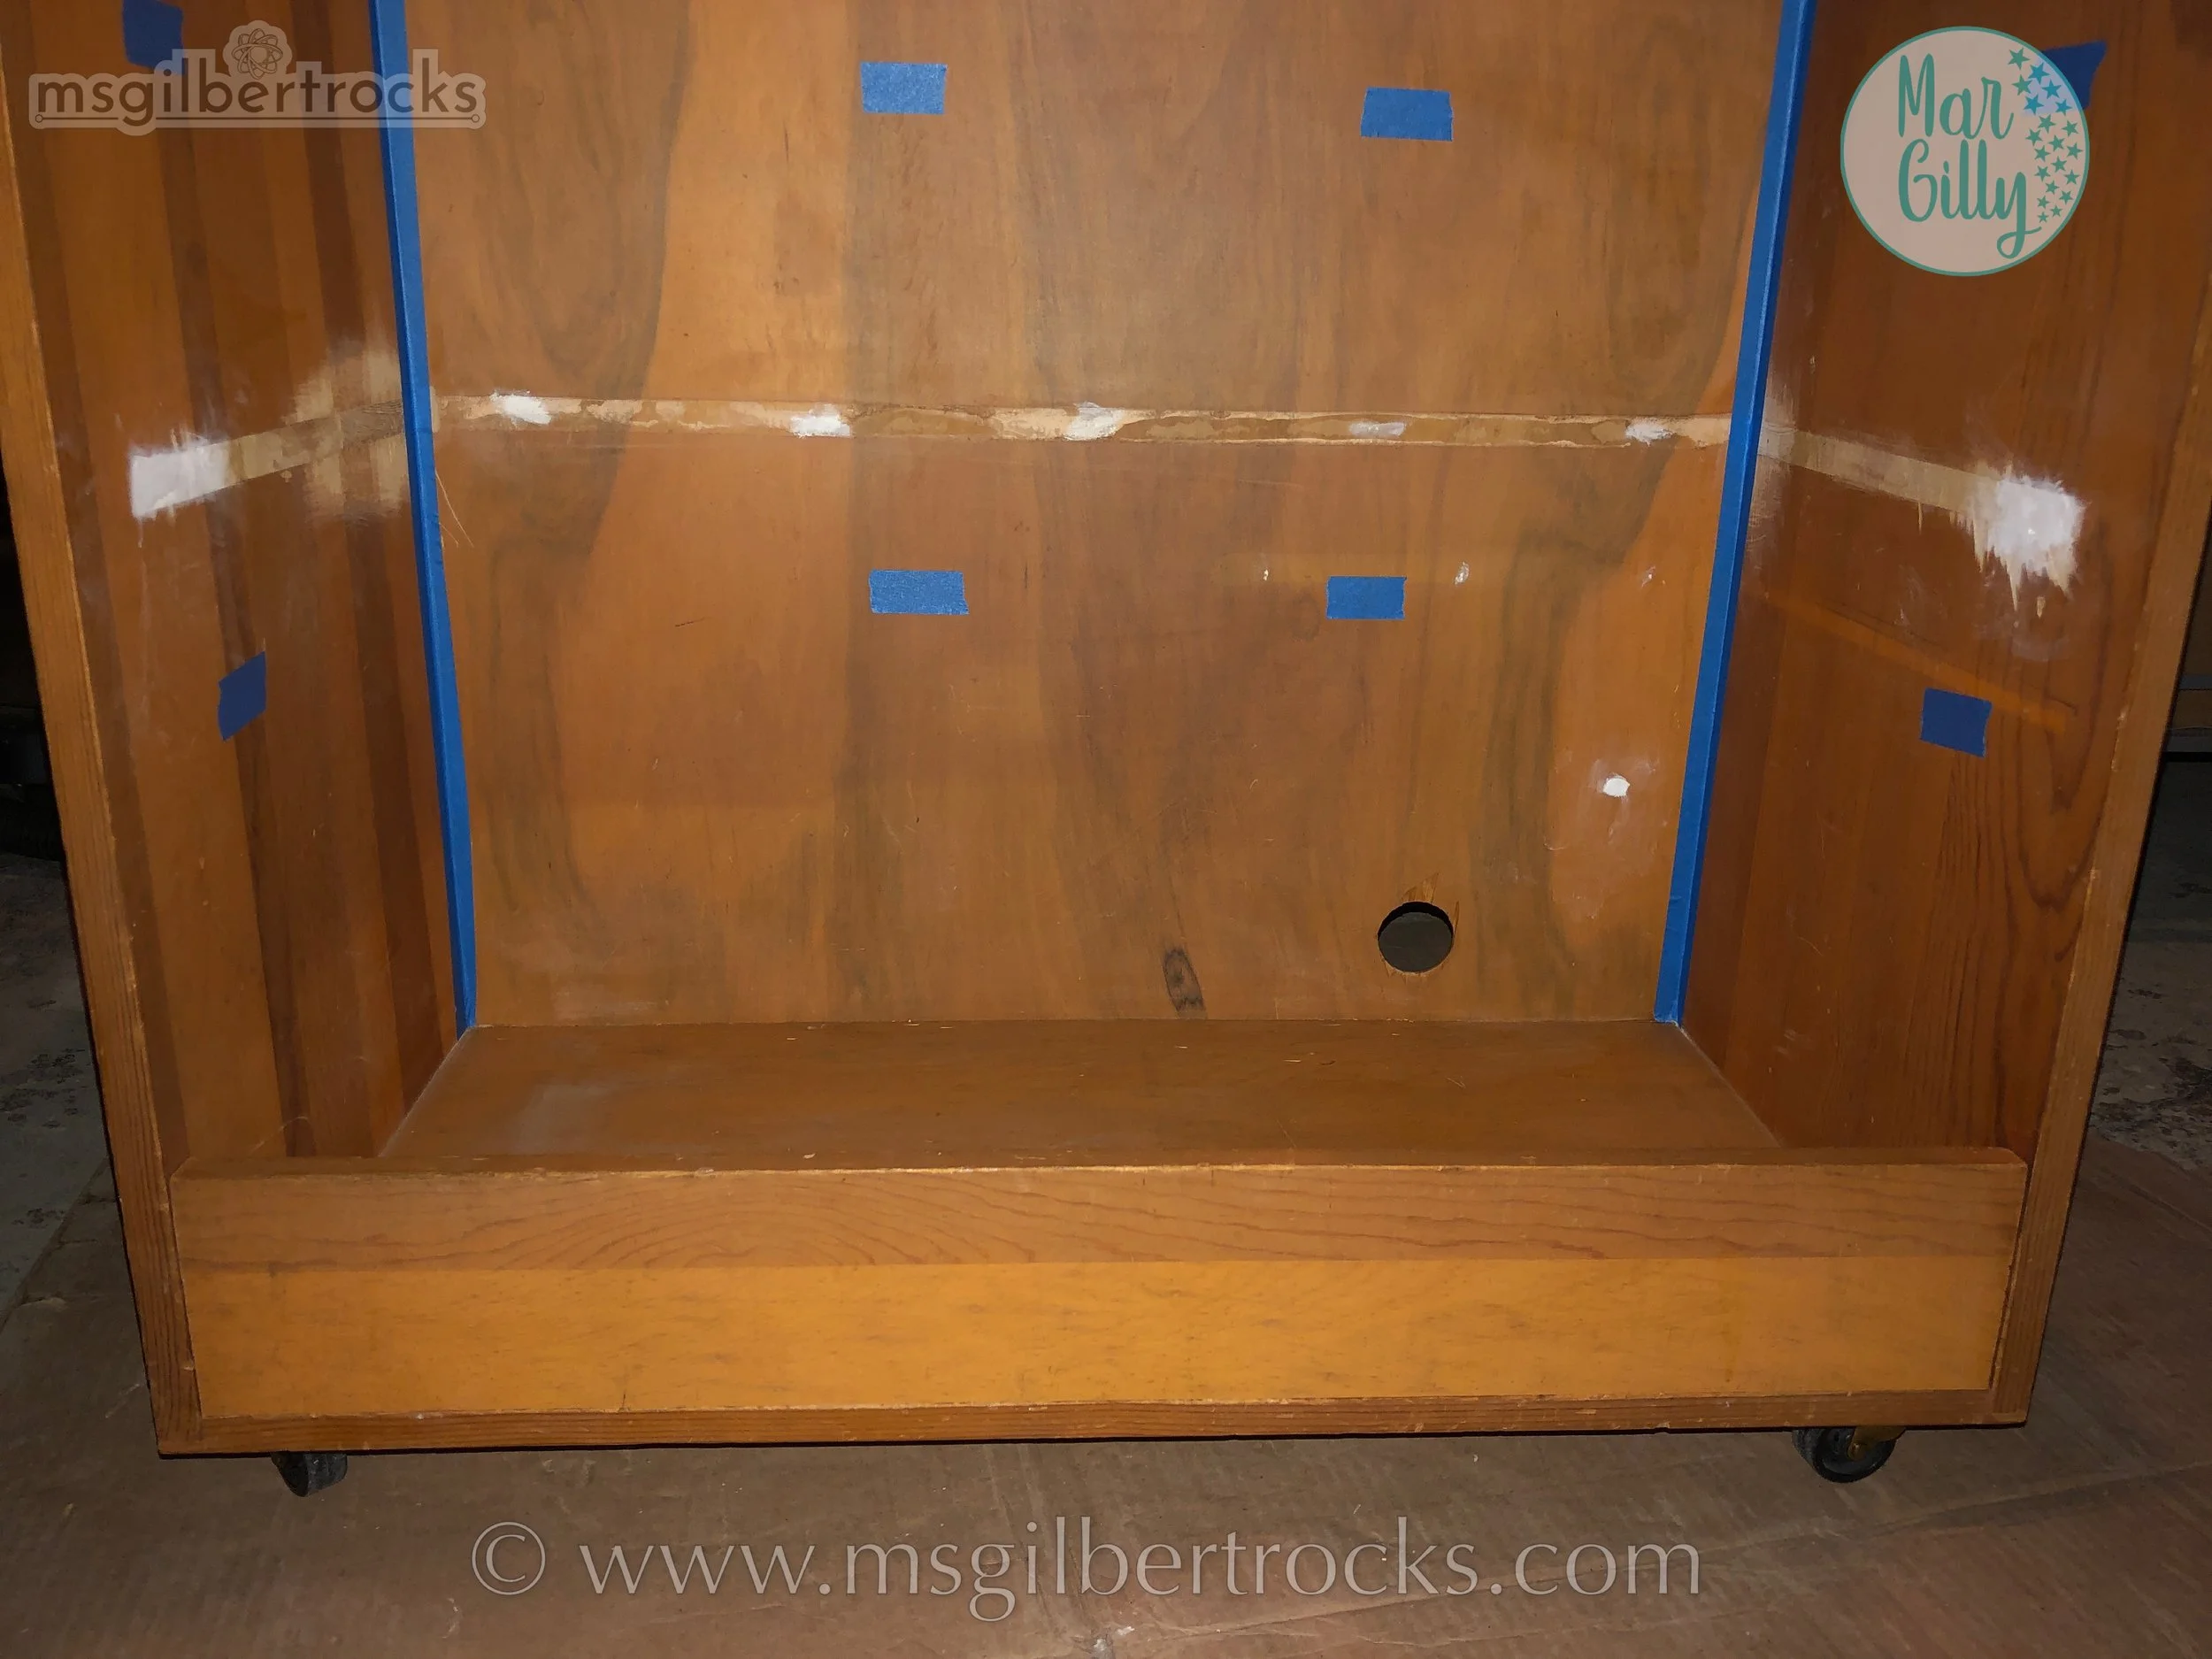
The first task Jen gave herself was to start the prep inside the cabinet by removing the shelf. Easy to say, hard to do. The nails were VERY long and had to be dug out way more than Jen would have liked to keep the sides looking nice, but after two days of solid work on that and removing the staples (much easier) holding the shelf to the back panel, Jen noticed that the shelf also was set into the side panels of the cabinet (🤦🏼♀️). Since she was determined to have the option to re-use a piece of the shelf cut down to about 4 inches for that front lip, she purchased a flush hand saw to attempt to remove it with as little damage as possible to both the shelf and the interior of the cabinet. We thought this was worthwhile since the shelf was sized exactly to the interior dimensions of the cabinet and would match the rest of it, rather than purchasing a new piece of wood for the front lip. We had no plans to paint or stain since the cabinet fits in well with our older school building with the original age/coloring of the wood. Another day later, the flush saw was put to use…and actually worked! We were pleasantly surprised and moved on to sanding over some of the areas that were not quite flush on the sides. A quick trip with the cabinet to Maggie’s garage gave us an opportunity to work on more sanding and gather supplies to fill the holes in the wood with wood filler (interior) and putty (sides with nail hole gouges).
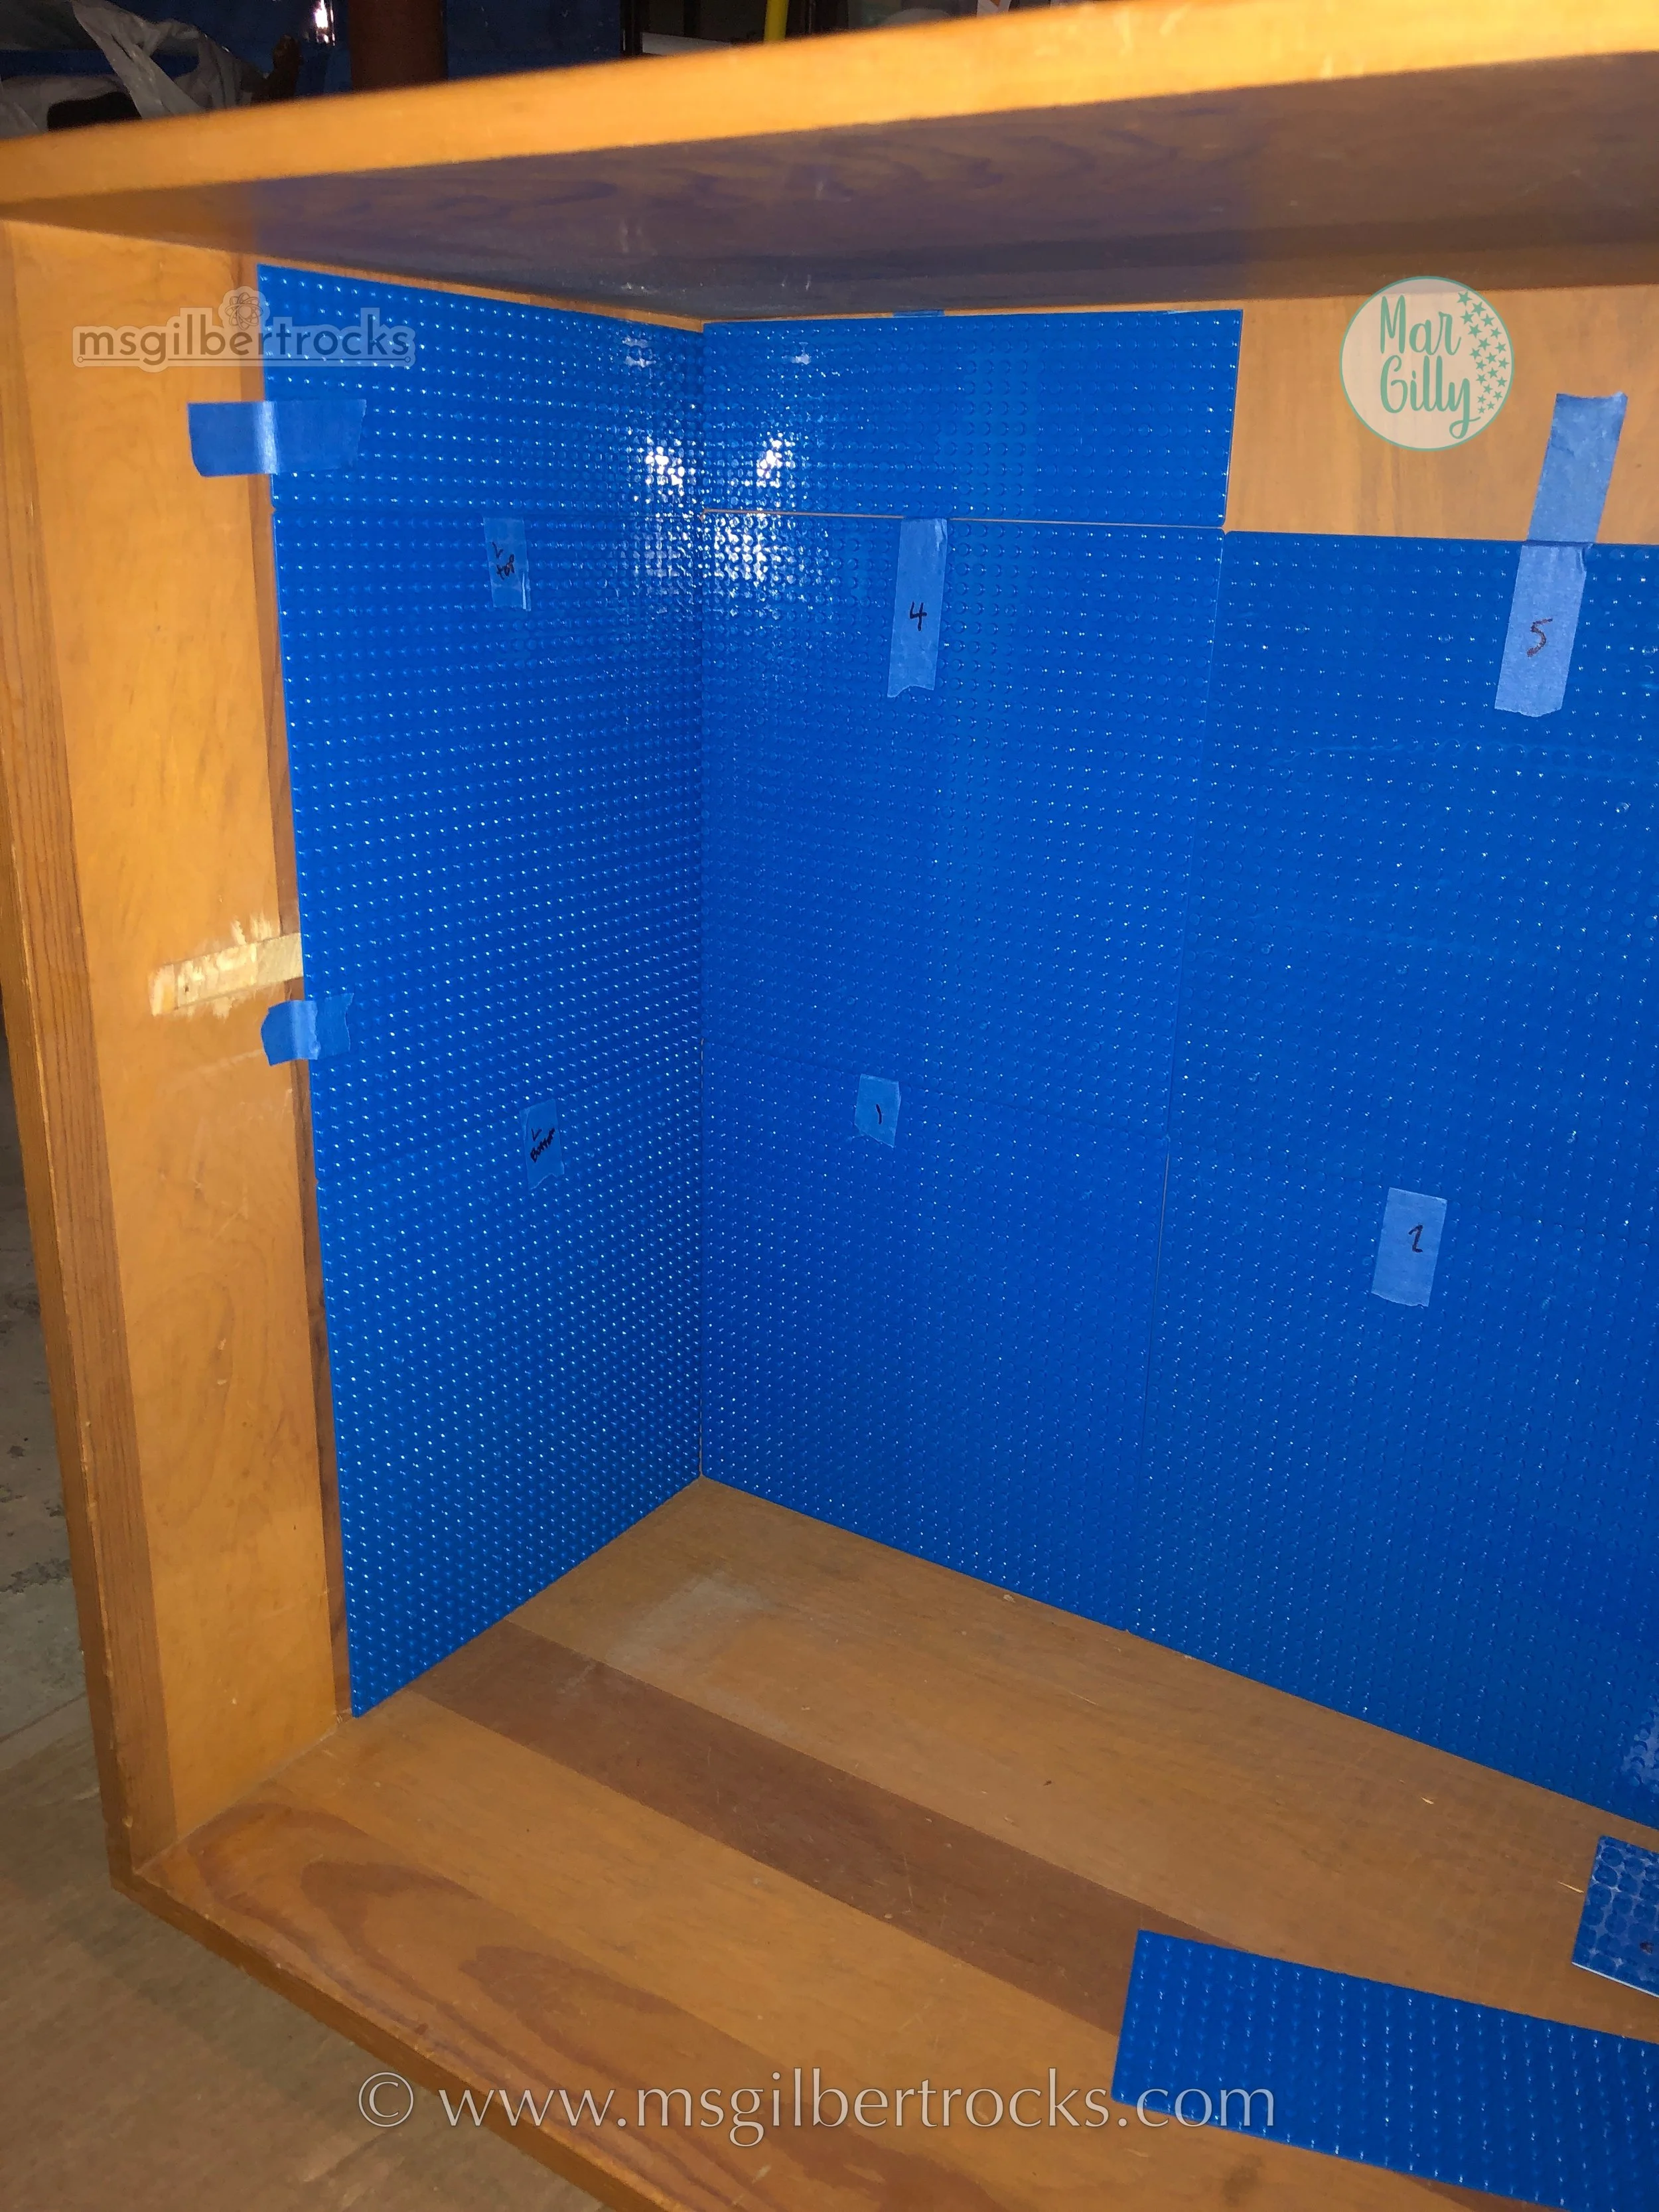
In between prepping the cabinet, we set out baseplates and measured to cut them to size along the back panel, top to bottom, as well as the left and right sides of the cabinet top to bottom. We took the greater depth as an opportunity to add baseplates to the sides of the cabinet as well! Cutting baseplates is not particularly challenging, and gets easier with experience. We used an X-Acto knife to score (approximately 7 times) along the line of LEGO pieces used to mark the bounding area for cuts. It is important to keep pressing down on the LEGO pieces to ensure they stay secure on the baseplate as you are cutting. We used a self-healing cutting mat under the baseplate as well. Once scored, we bent the the pieces gently to get them to separate cleanly. The last step in prep was to place blue painter’s tape where the baseplates would meet and have a slight gap showing the wood behind it. This was more of an aesthetic choice since we liked the idea of potentially using the cabinet as a blue screen and thought it may help. If you look through the photos, you will notice the painter’s tape in the cabinet along the areas where baseplates would meet as well as at the top, and where the back and side pieces meet. This stayed as the baseplates were installed with adhesive.
You can use any baseplates that fit your budget, and absolutely can use the branded LEGO versions for an upcycled LEGO Wall. There are a number of non-branded versions, from Dollar Tree to online resellers that have larger packs. There are baseplates that have adhesive backing on them, but we have never used those ourselves.
Final Steps
Once everything was prepped, we added adhesive using Maggie’s muscles to squeeze a caulking gun to spread it out on the back of each baseplate. As part of the prep process, I labeled each baseplate with a number so I knew where it would be placed in the cabinet. This was particularly helpful at this stage since we could refer to that painter’s tape with a number/location on the front of the baseplate and get it into the appropriate spot. There were a number of smaller cut pieces, so I found it very useful to keep them labeled immediately after cutting to avoid confusion during the installation. Jen did not do a great job with the amount of adhesive we got onto the back of the baseplates, but fortunately Maggie suggested laying the cabinet down and adding weights for the first 48 hours the adhesive was drying. This seemed to help tremendously, but we will not be surprised if we need to re-install some baseplates if they come loose after students start to play with the wall this fall. To that point, we are keeping a tube of adhesive and a couple of the same type of baseplates to be able to make any repairs at school, if needed.
Special Thanks
As teachers on a tight budget with limited access to resources, we greatly appreciate all of the support provided by the community on projects like these that enhance our shared special education classroom.
A huge shoutout to Nick Gosser, contractor extraordinaire, for cutting down the shelf to make that front lip of the cabinet using the original shelf, just the way we envisioned.
Another big thank you to Ed Gross, the owner of North Shore Handcrafted (www.northshorehandcrafted.com) for being willing to assist with parts of the project that required power tools we did not have.
Connect With Us
As always, please reach out here or on social media with any questions! We love to collaborate with others and are always happy to share our process to help other educators. Ready to build your own mobile LEGO Wall? Share your ideas and let’s connect to bring more Playful Learning to classrooms!!

